Connecting and the screen
Connecting
The connect screen opens first. If there is only one robot, Lab finds it, connects and opens the console. If it sees several, pick one from the list and press Connect.
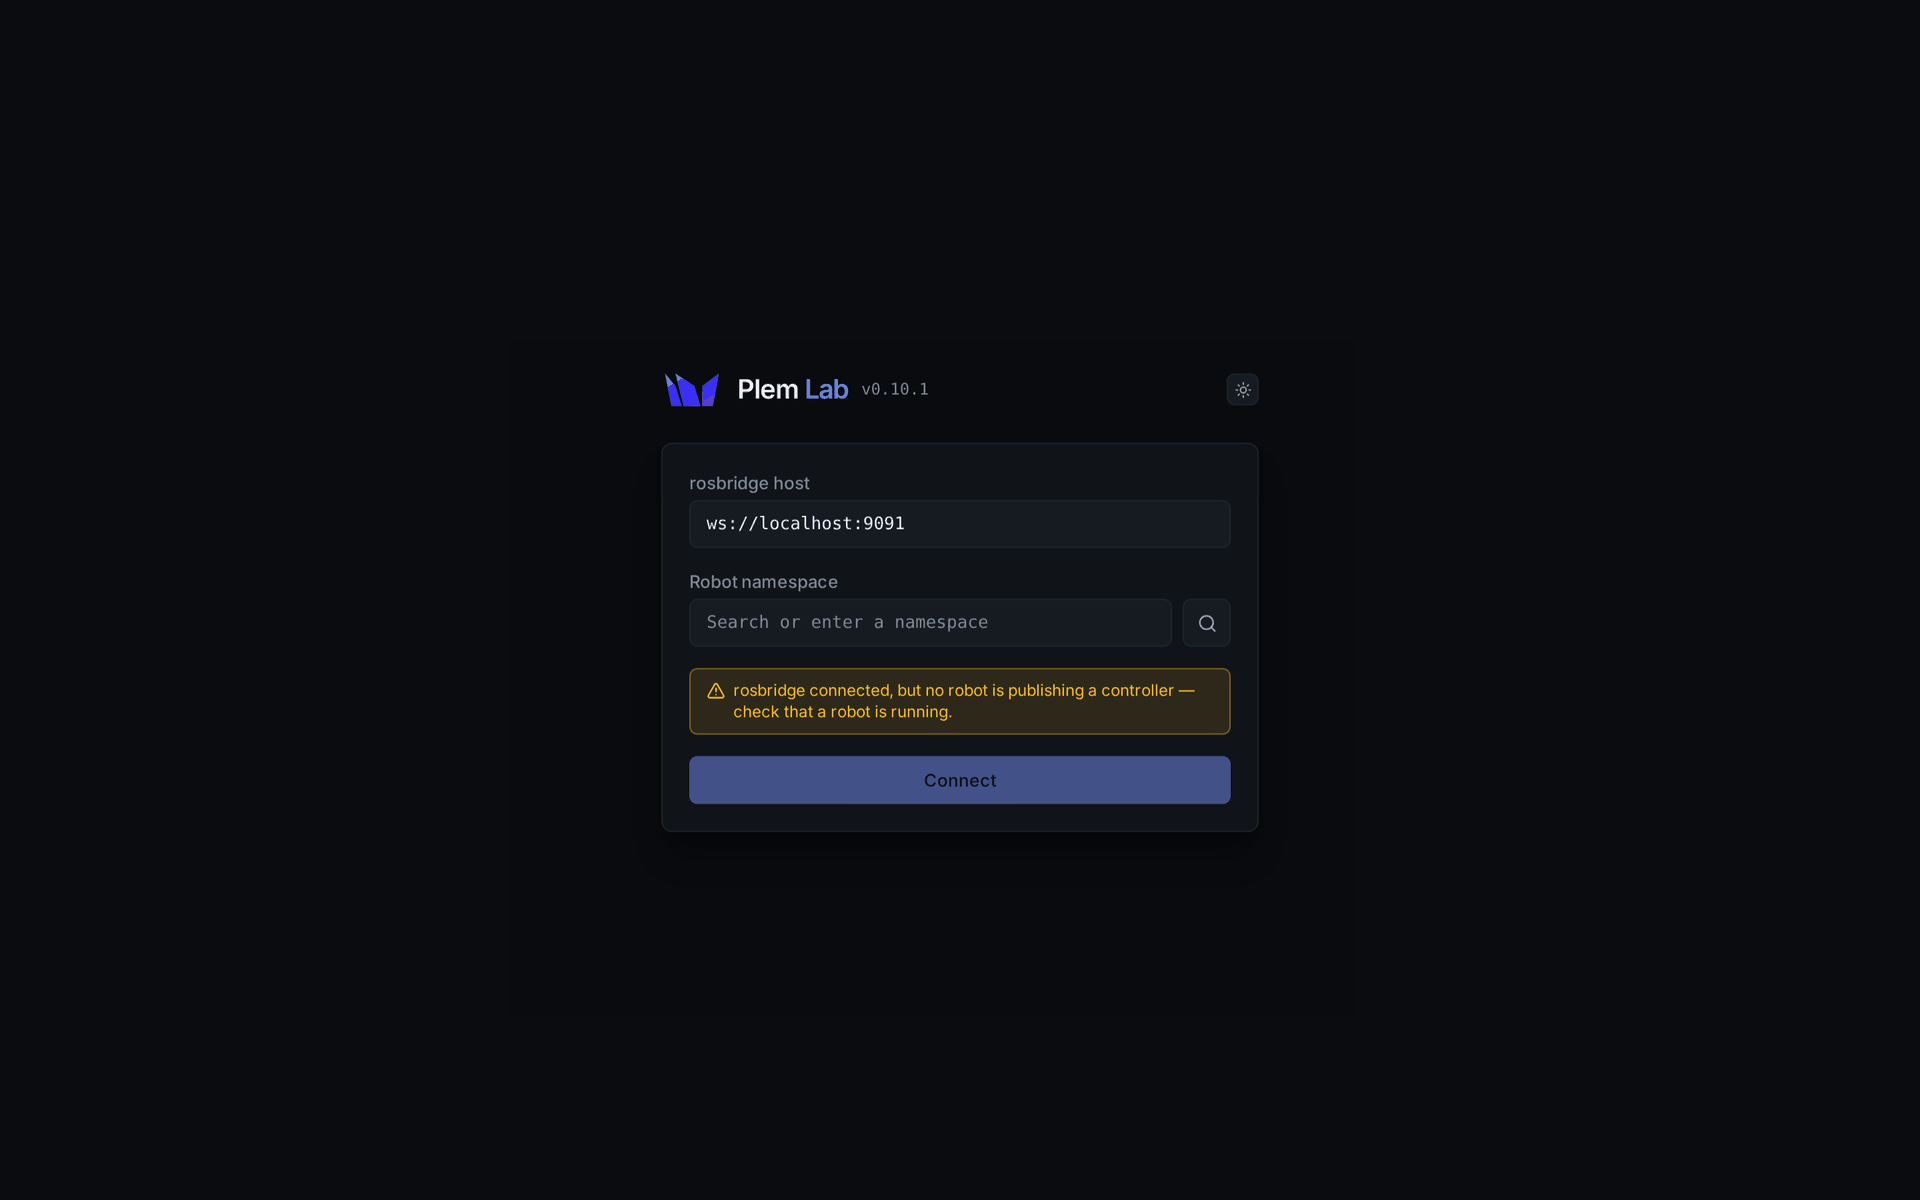
| Field | What it is |
|---|---|
| rosbridge host | Defaults to port :9091 on the device you opened Lab from. Lab remembers the last value |
| Robot namespace | The robot ID. The magnifier button finds the robots that are running now |
| Message | Meaning |
|---|---|
Can't reach rosbridge (…) | Lab cannot reach the device. Check the address and that the stack is running |
rosbridge connected, but no robot is publishing a controller — check that a robot is running. | Lab reached the device, but no controller is up yet. Check in the TUI that the stack has launched |
The top two rows
The first row shows the robot name and address. On its right are the pose panel toggle, the theme toggle and Disconnect. The second row is the status bar.
| Field | Shows |
|---|---|
| Controller | The torque controller that is running (adrc, pid or the plugin name) |
| Safety | NORMAL in green, PROTECTIVE_ in red |
| Mode | Three buttons: BRAKED, TRAJECTORY, FREEDRIVE. A button requests the switch; the display changes once the robot has switched. STOPPING and ERROR appear only as a badge beside the buttons |
| Badge on the right | Whether tuning is possible: Tuning enabled, or why it is locked |
FREEDRIVE asks for confirmation first, because releasing the brakes can let the arm sag.
If a switch is refused, the reason stays under the status bar until your next attempt or until the robot enters that mode. A refusal caused by sending BRAKED to a robot that is already BRAKED is not shown.
Protective Stop and Recover
When the safety state is PROTECTIVE_, a Recover button appears beside it, and the mode buttons and tuning lock.

Recover only sends an error reset. The lock clears when the safety state actually returns to NORMAL. If it does not, a notice appears naming the likely physical causes. Remove the cause and press Recover again. For a joint outside its limits, recover in Freedrive from the TUI (Stops and recovery).
Layout
| Area | Contents |
|---|---|
| Top left | Tuning and Experiment tabs |
| Bottom left | The signal tree, always visible |
| Centre | Live, Simulation and Runs tabs |
| Right | The pose panel. Closed by default; open it with the button in the top row |
- Drag a border to resize an area.
- When another tab has something new to show, a dot blinks on its name.
- Generating a stimulus switches to the Simulation tab. Once a real move starts, the tab stays where it is and the move shows in Live.
The pose panel shows each joint's current angle in degrees. A joint within 5 % of either end of its range turns yellow. If no update arrives for more than 1.5 seconds, the panel shows stale and keeps the last values dimmed.
The interface is in English, with a dark and a light theme. It is designed for desktop browsers, not touch screens.